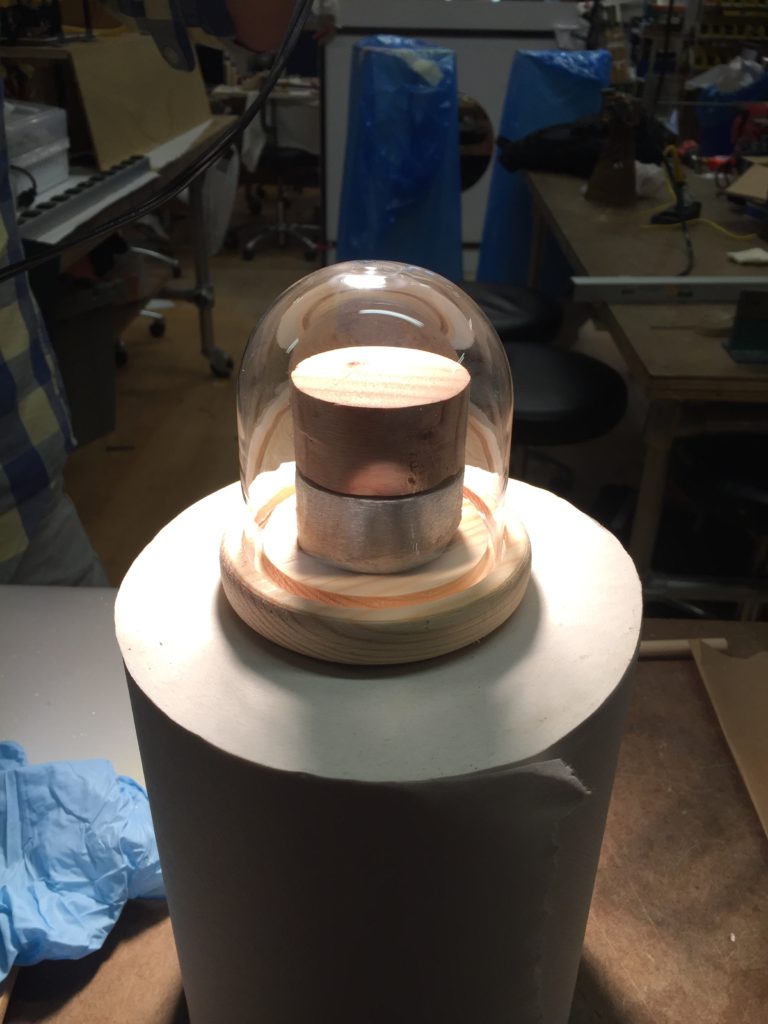
As the title of this post says, I’m finally using the 4 axis to mill aluminum! First step was to cut that massive bar of aluminum I had down to size.
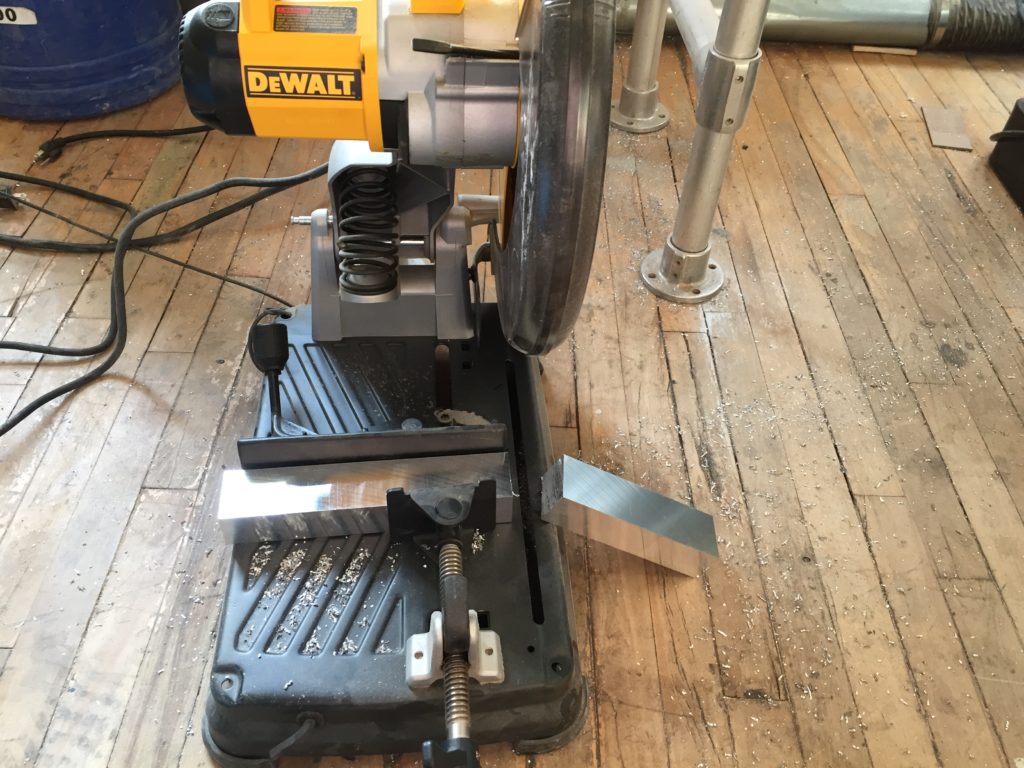
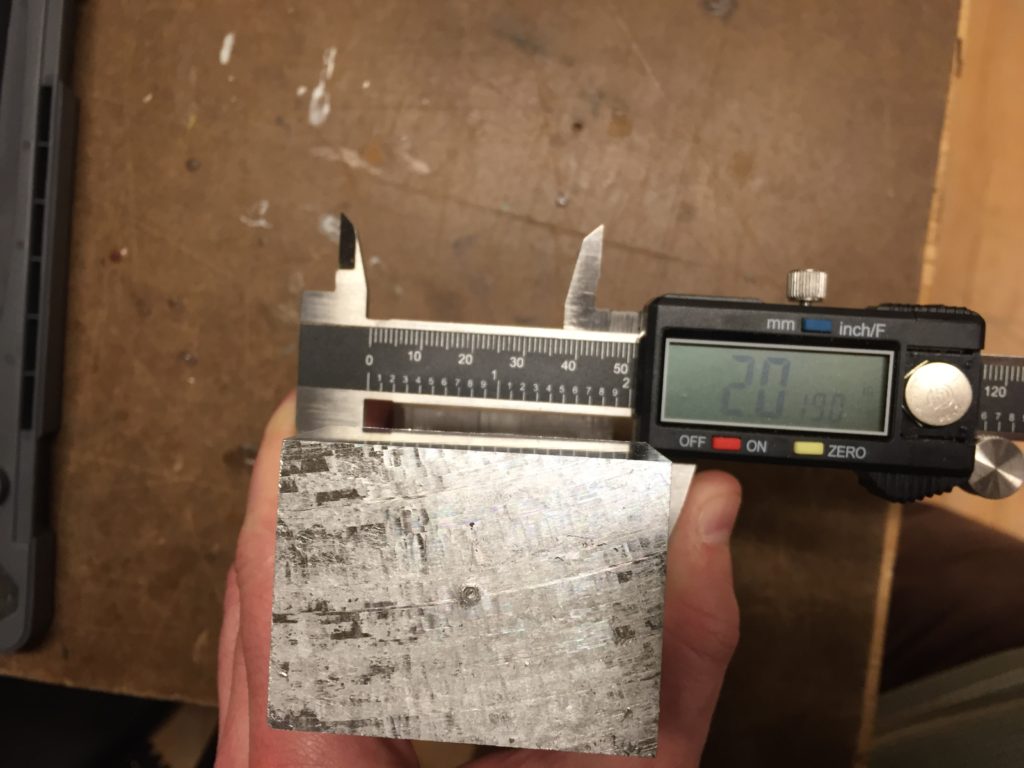
After cutting the bar, I measured and remeasured my material. 6″x2″x1.5″ each time. Great. I used a screw to bore a small hole into the end of the bar that will be on the live center.
 I mounted my material on the 4 Axis and loaded up my files. I was pretty excited to get started, especially because the job was estimated to take only 3.8 hours.
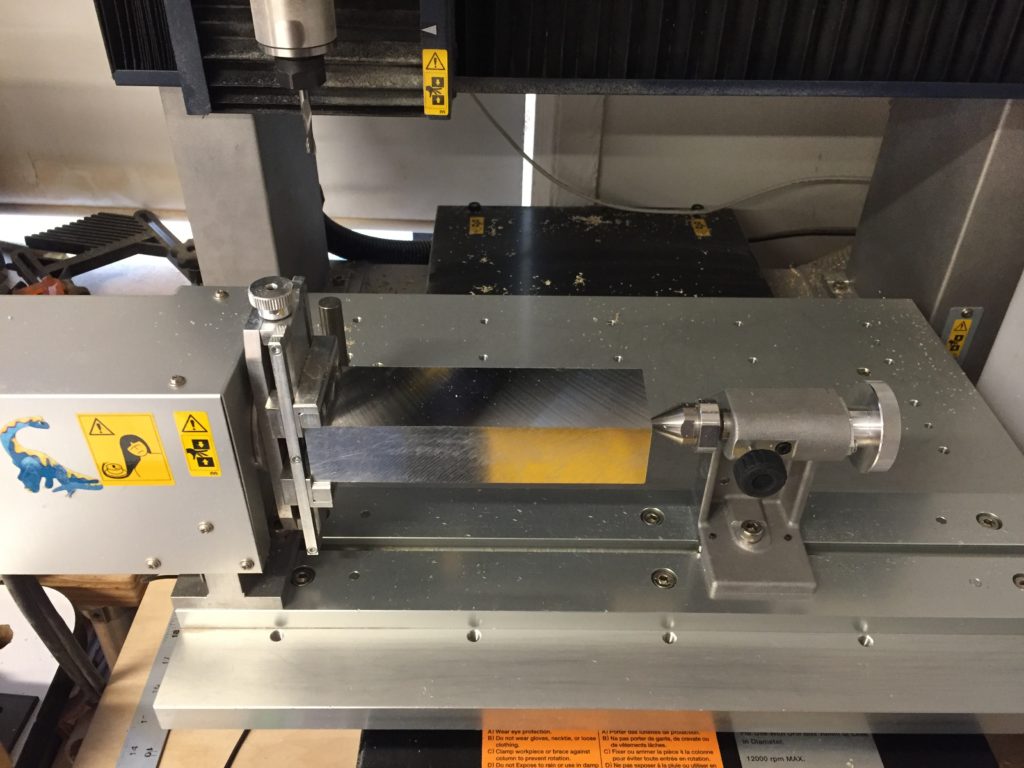
This time though I needed to modify the end height of the job to ensure the correct depth for the interior pocket of the part.
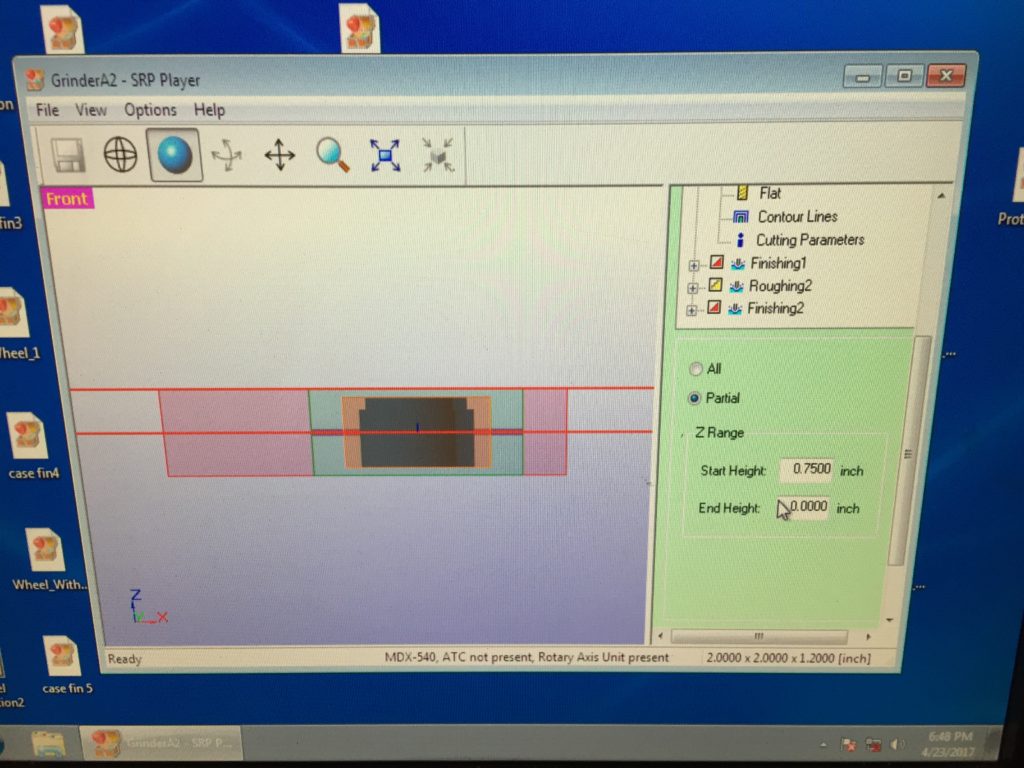
I changed the End Height from 0 inches to -.4, below the center line of the work piece.
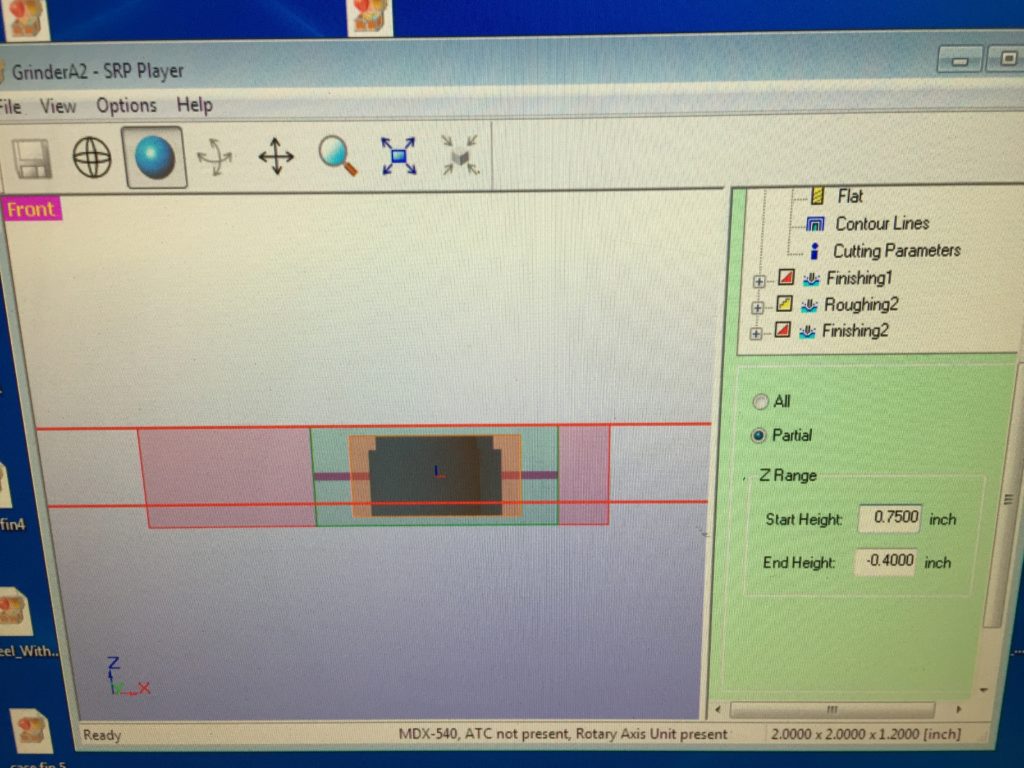
This change increased the estimated job time to 4.8 hours. Ouch, but at least it wasn’t 12 hours.
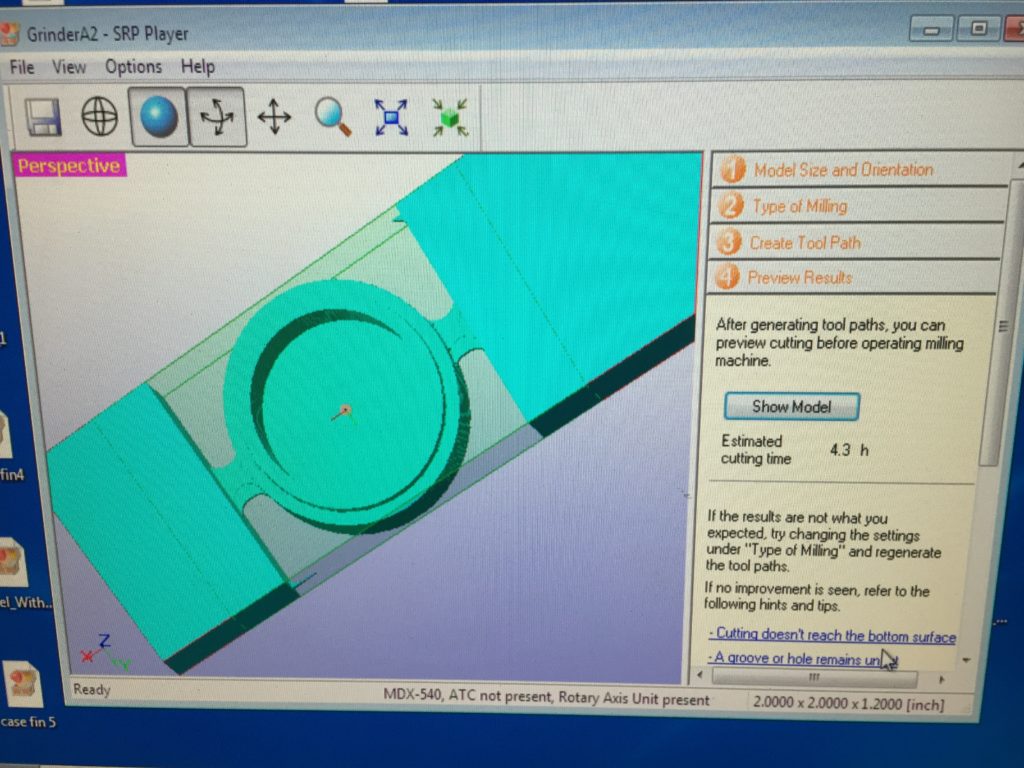
But when I started milling, all was not well. The machine milled air in front of my piece, indicating a misconfiguration of the Y axis. Ben had asked us not to adjust this setting, so I sent him an email and packed up for the night.
The next day Ben fixed the Y axis for me and I started my job. I ran into a few more problems regarding starting depth that required adjustments to how much material each pass would take away and the rate of the cuts, but eventually got things to a place where the machine was milling without problem. All of these changes dramatically increased the work time though! I ultimately had to settle with just roughing my piece (4.3 hours on its own) because the entire thing would take over 6 hours to complete (aka: Ben was right).
About two hours later the shape of my cylinder box was taking form.
It took three hours to mill away the outer material and start work on the inner pocket.
The pocket itself took an hour and a half, but at hour 4.3 the job was done. Well half of the job anyway. I still needed to cut the bottom out and (time allowing) apply a finishing pass.
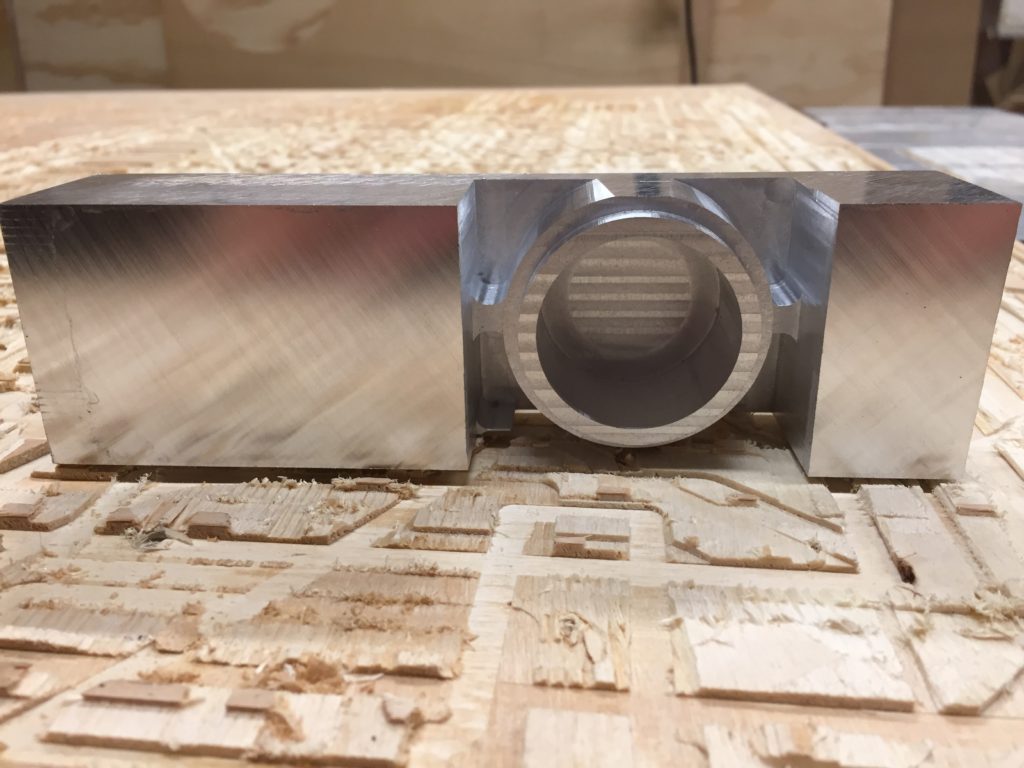
I removed my piece from the machine for the night and brought it to class the next day to show my progress.
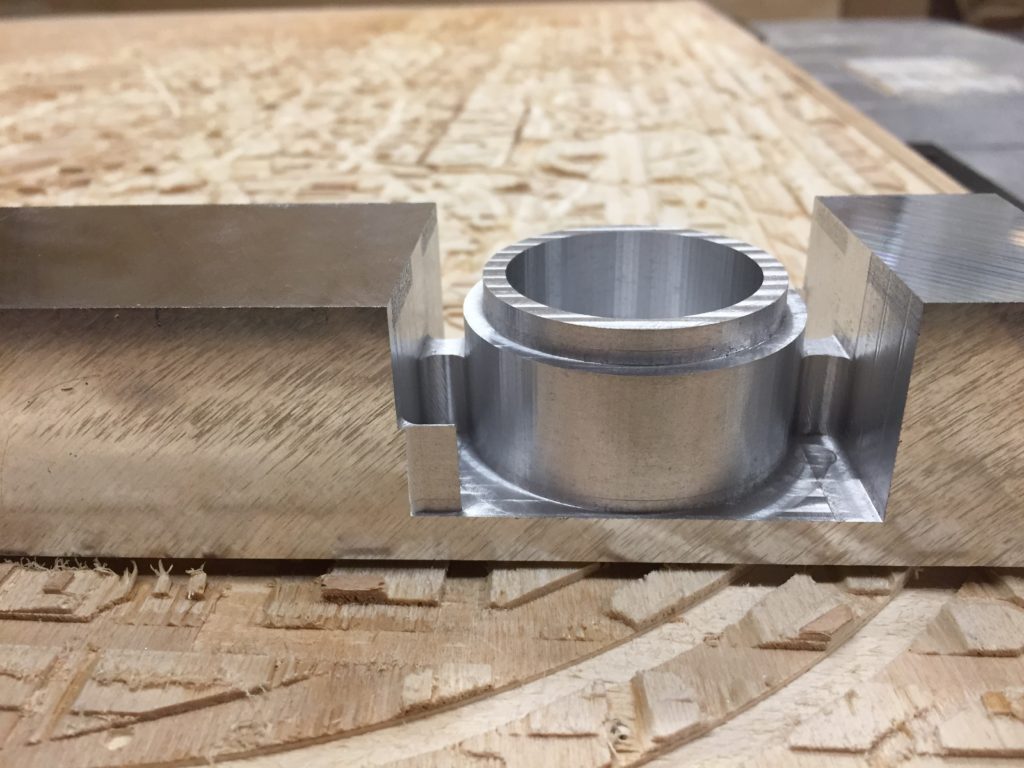
I later returned to the 4 axis hoping to make (relatively) quick work of the bottom of my piece because it involved less material than the previous job and I was feeling confident enough to not be as conservative with my passes and material removal. I quickly re-mounted my material and homed X and Z to what I thought was close to my previous settings, and let the 4 axis do its thing.
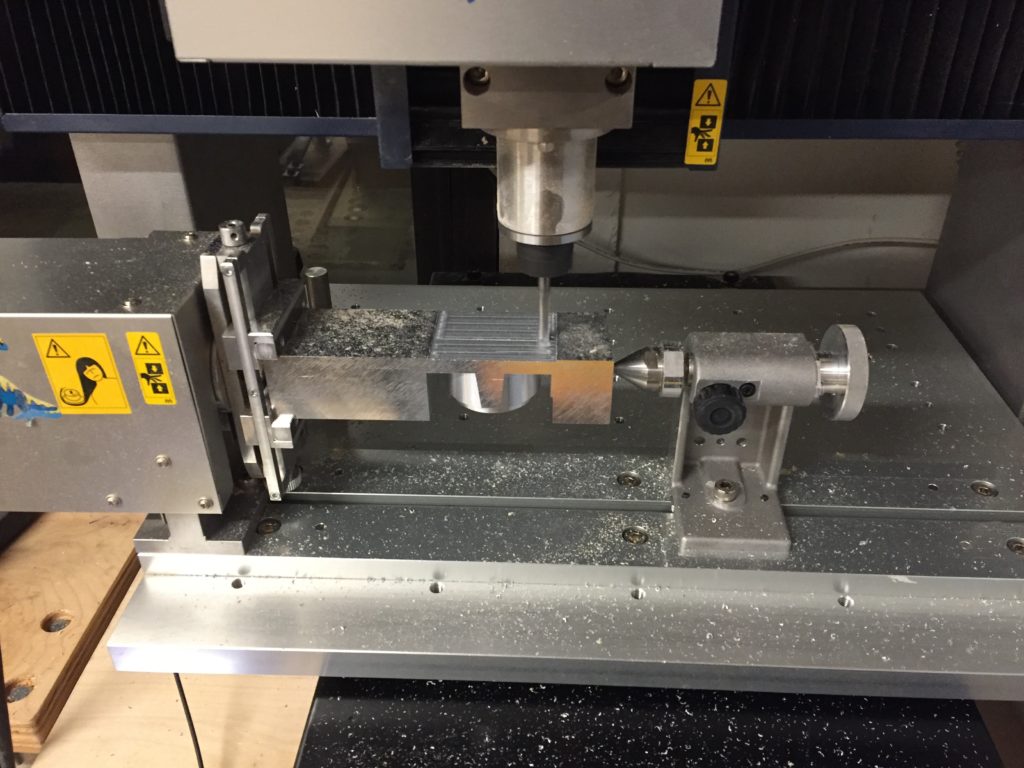
When finished, I noticed that the bottom was off center and my piece now had the strange appearance of slightly hanging off of a coaster. This was because I didn’t have the exact same X as during my first job. Note to self: do not remove pieces from the 4 axis if they aren’t finished.
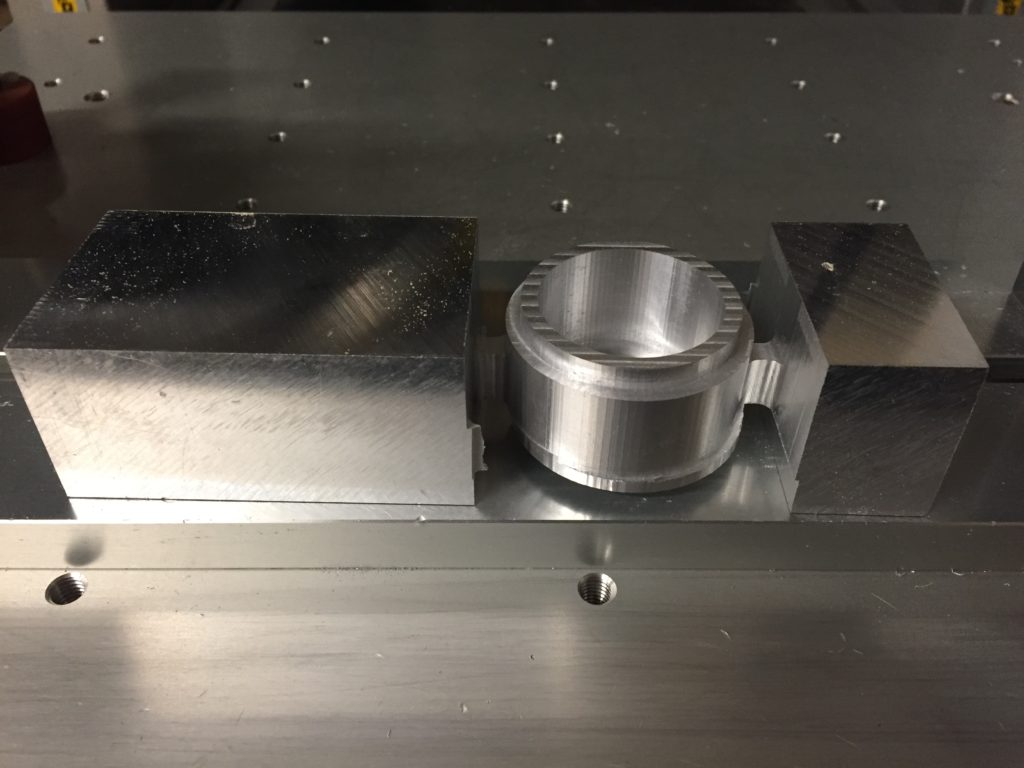
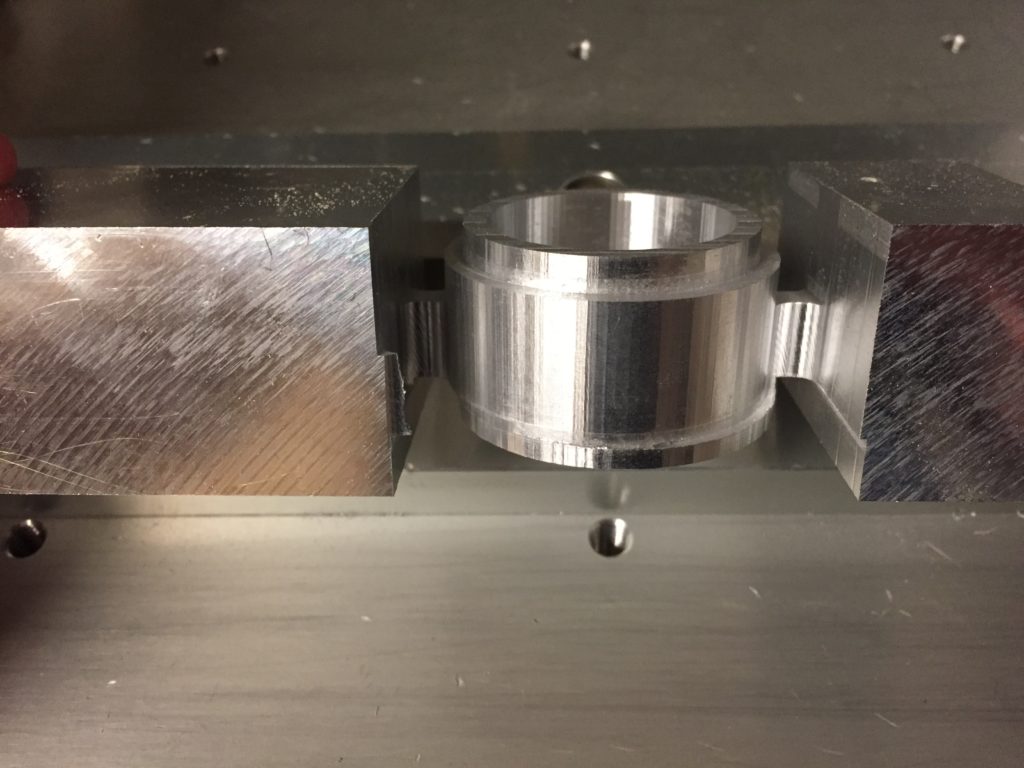
I still didn’t think I had enough time for finishing passes, so I left that step off. This feels like a good call because the stripe pattern on the top and bottom of the piece is really interesting.
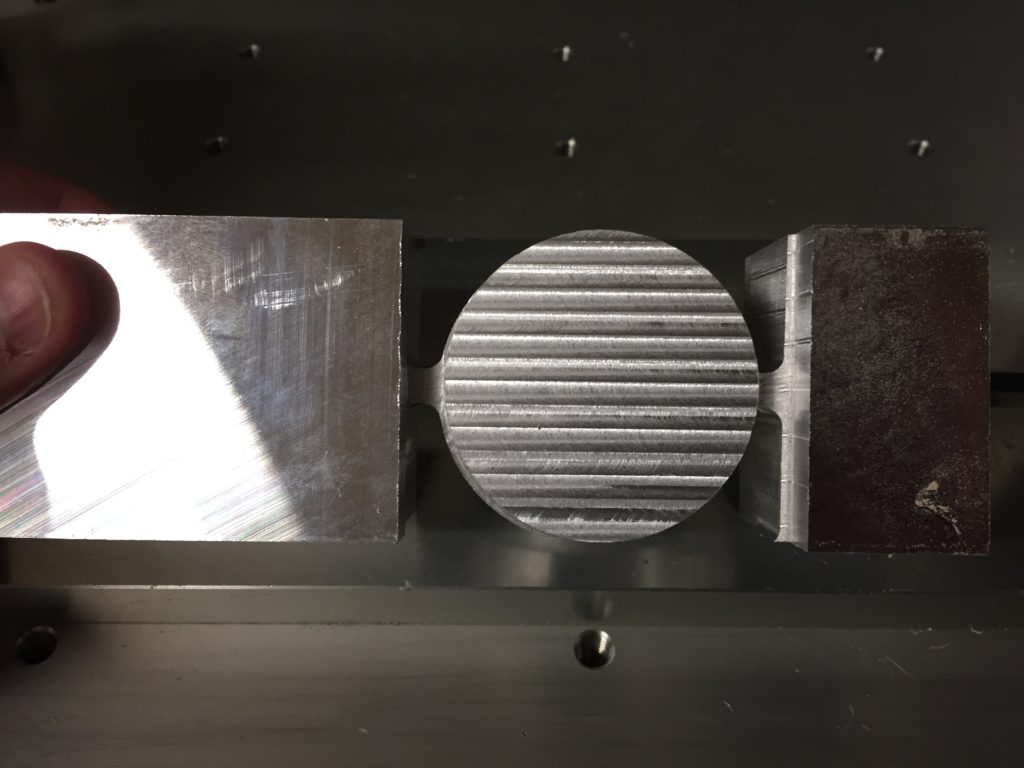
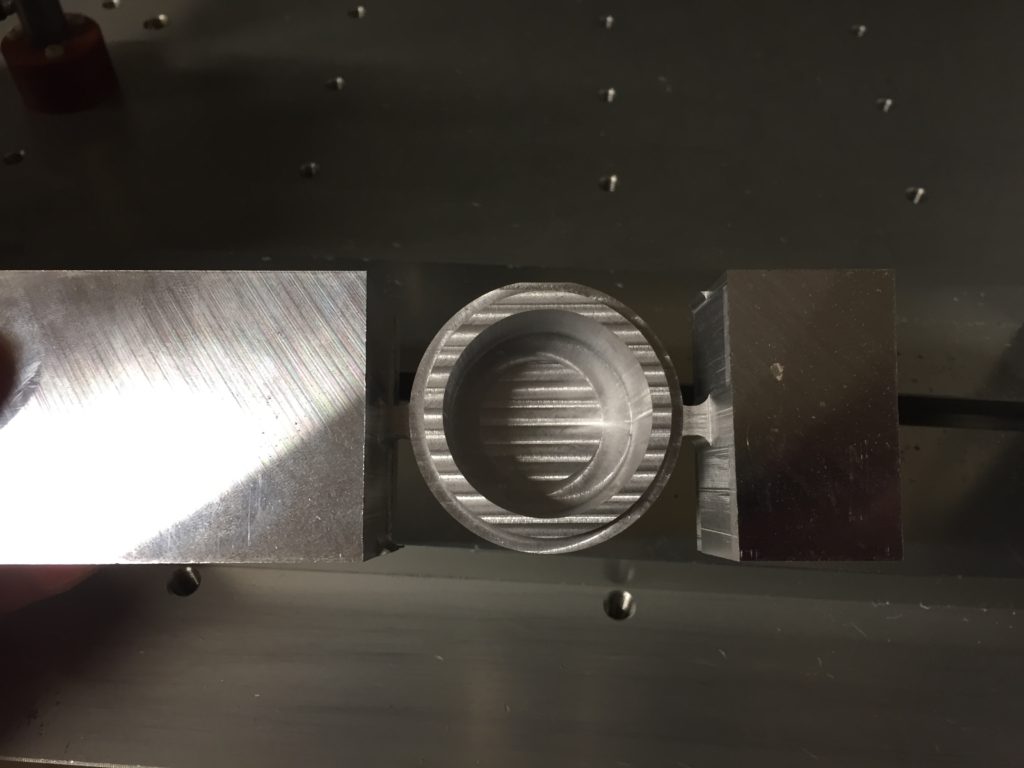
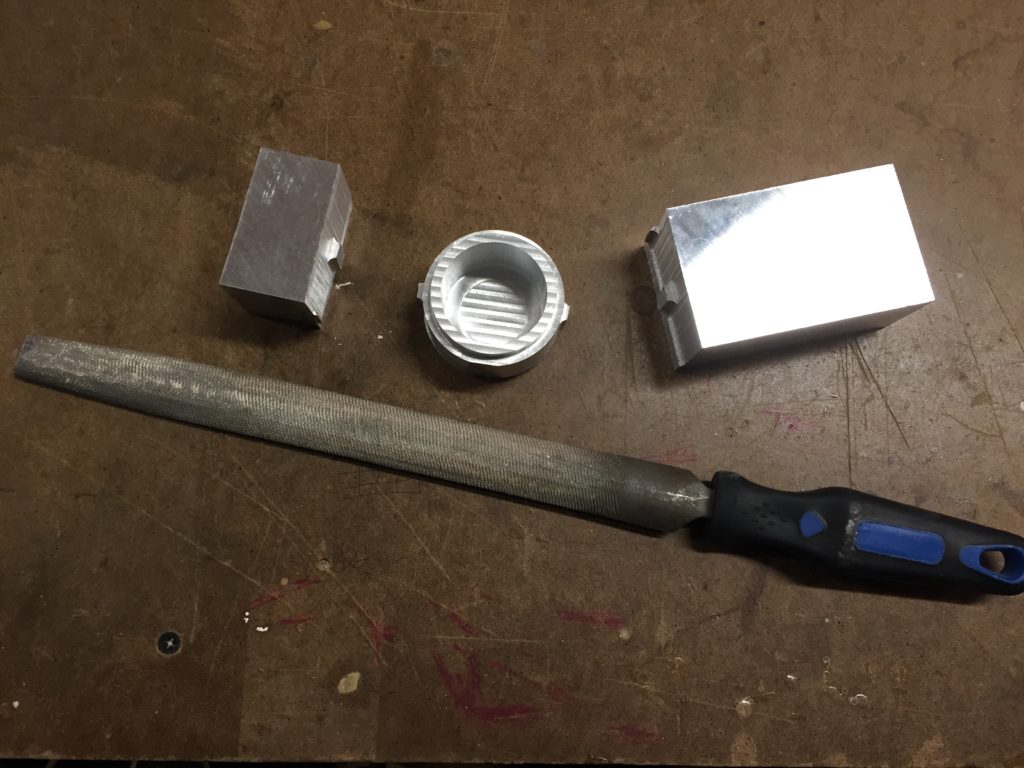
I used a hack saw to cut the container out of the remaining pieces of the aluminum block. I then used a metal file to nock down what was left of the supports. I also used the filed to smooth out the edges at the bottom of the container, where it looks like the container is off the edge of a coaster.
I then used 120 grit sand paper to smooth out any burs and jagged pieces left over from filing.
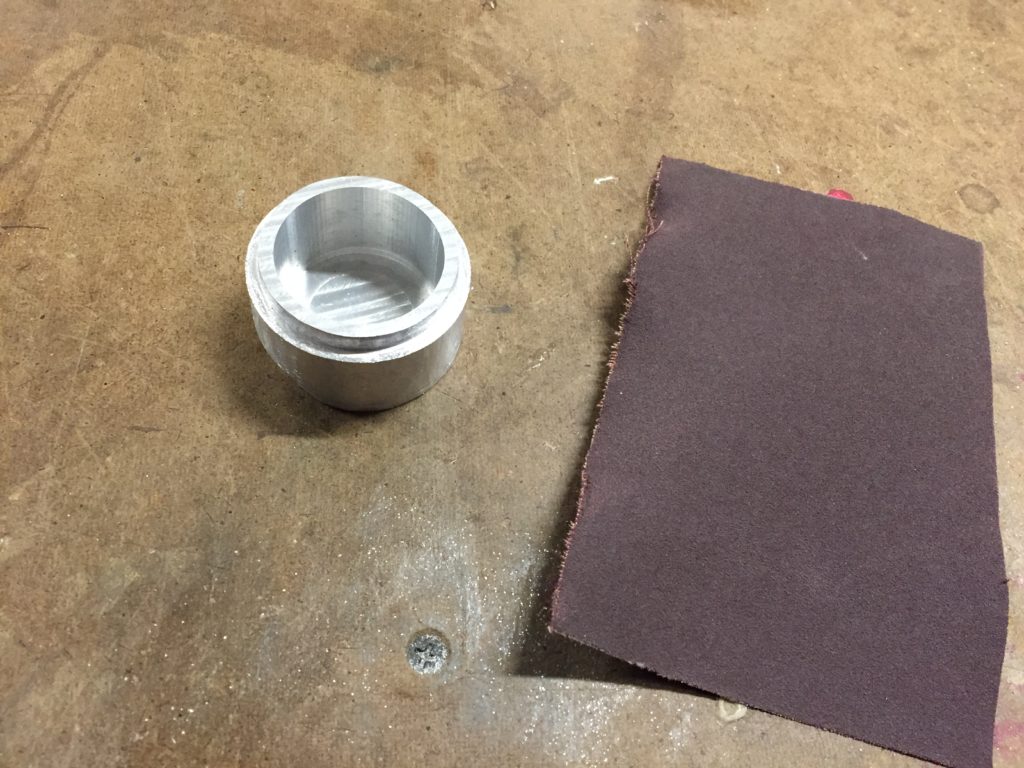
The final piece has a brushed aluminum look to it, albeit with a bit of a heal from the messed up X axis.
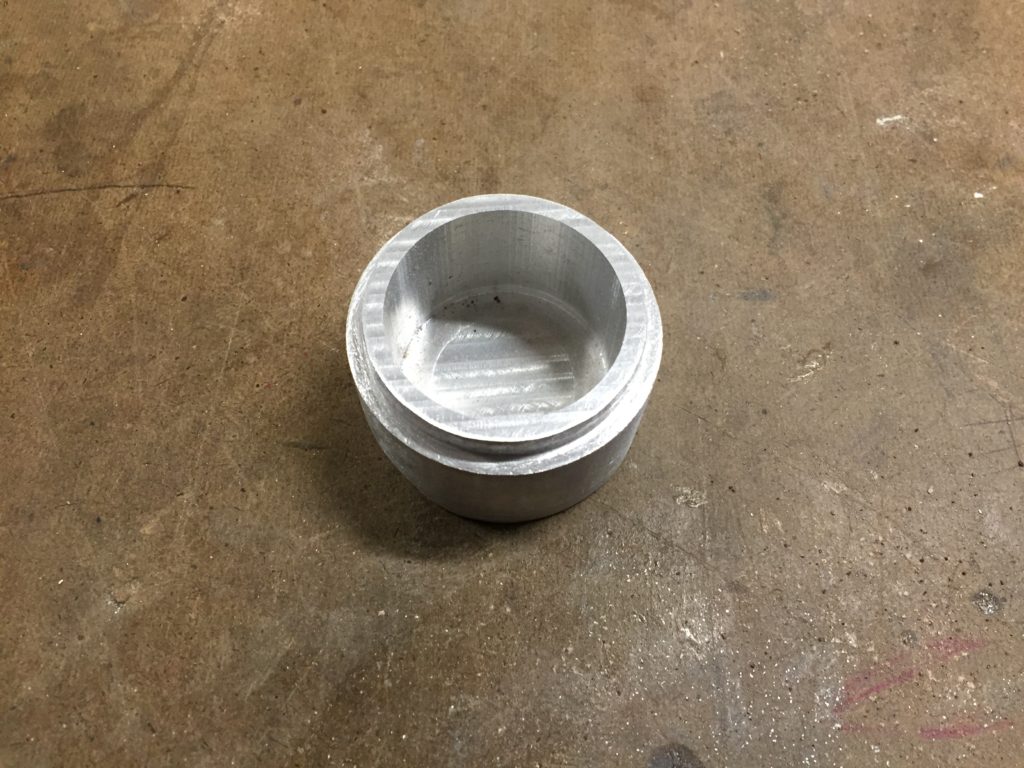
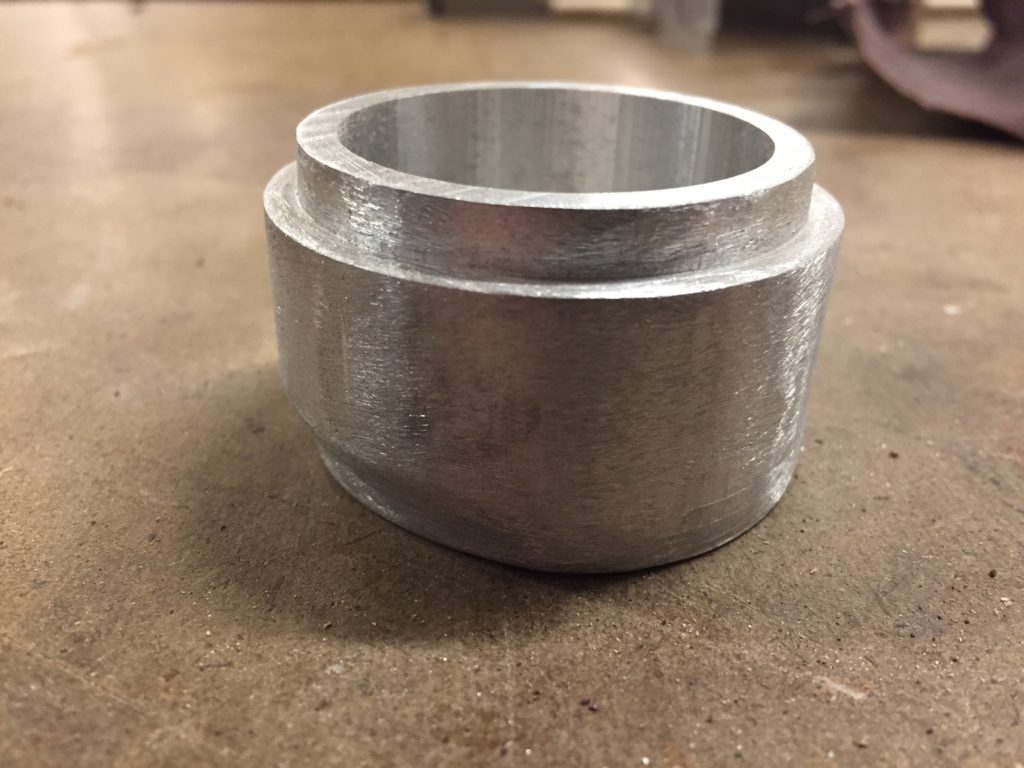
Combined with the top I made out of wood for out last skill builder, my container becomes a physical embodiment of my multi-week experiment with materials on the 4 axis!

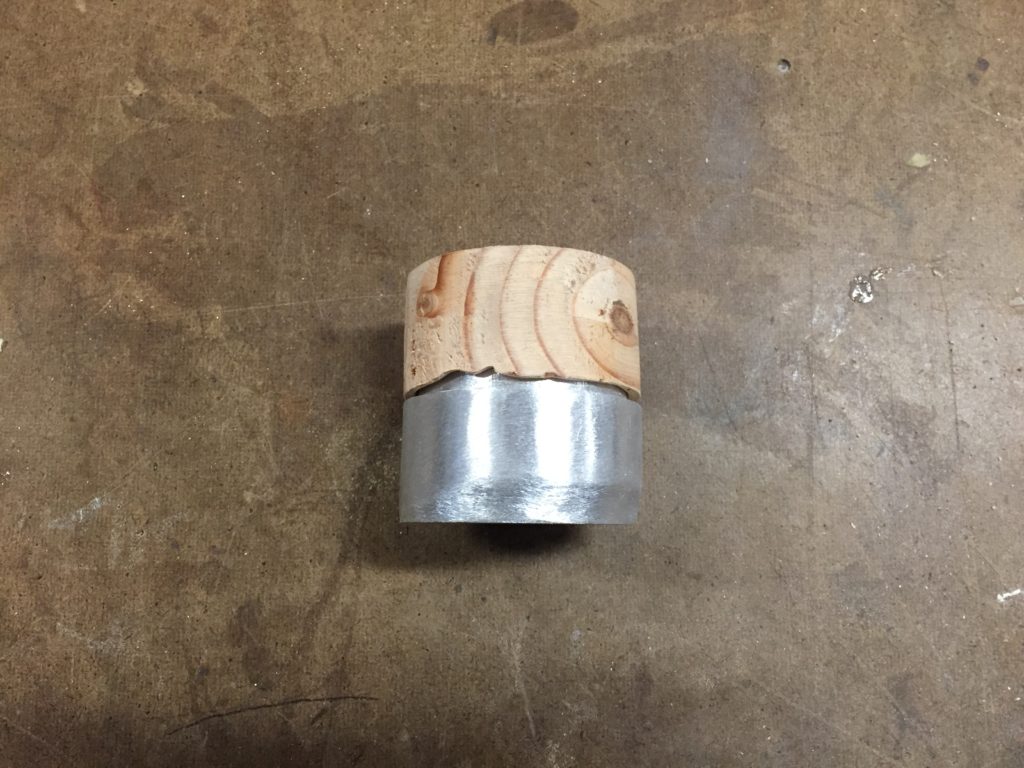
I was feeling proud, so I bought a bell jar to class up the presentation of my piece 🙂
